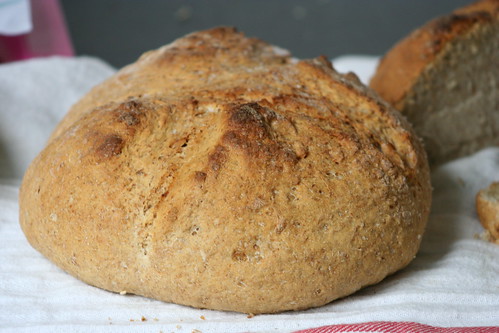
I found the recipe for this particular loaf of bread late last autumn, when I had a pot of Chili con Carne on the stove and decided I wanted bread to go with it. It is a kind of faux French country style bread, where the sourdough is replaced with regular yeast, making it quicker and a tad easier to put together. Although this bread may not as flavourful as when baked with sourdough, it still tastes great, and since it's ready to be eaten in just a few hours, it's perfect for those days when you just don't have time to bake all day long.
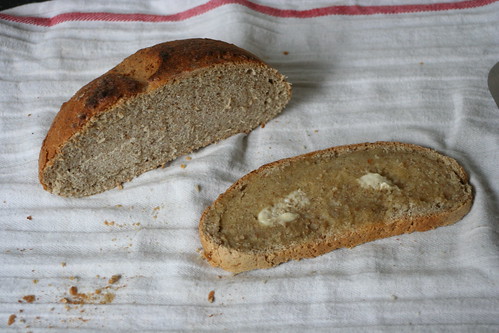
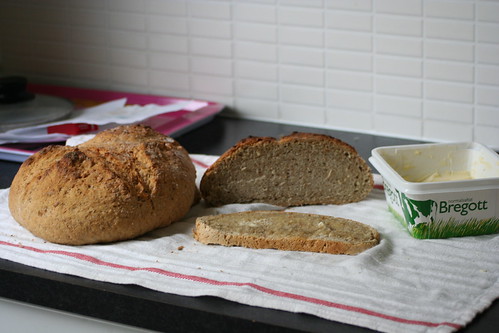
We had the bread alongside a wonderful soup I'm sure Daniel will be telling you all about soon, but it's also really great toasted and eaten with some butter.
Faux French Country Style Bread, from dn.se (a Swedish newspaper's online edition)
Makes two enourmous loaves.
900 ml lukewarm water
50 g fresh yeast (half the amount is more than enough if your yeast is so fresh it's almost wet -- I could hardly get the dough to stop rising!)
2 tsp salt
1,5 litres wheat flour
700 ml rye flour
Place yeast and salt in a huge bowl. Dissolve in a small amount of the water, stirring until done. Add the remaining water, and stir a little bit more.
Add the flour and knead well (if you have a machine to knead the dough, be careful as rye requires a bit more sensitivity than wheat), until dough is shiny and doesn't stick too much to the bowl.
Cover with a kitchen towel and let rise for 1,5 hours, or until the dough has doubled in size.
Preheat the oven to 250 C/480 F, with either your baking stone or oven tray inside.
Knead the dough one last time, then divide it into two parts, and shape in whatever fashion you see fit -- mine turned out quite round. Flour your hands if necessary.
Place the loaves on a floured baking sheet (if you're using your bread stone, and want the loaves to slip onto it easily) or silpat, and let rise one last time while the oven is heating up.
Cut a deep cross into the loaves before placing them in the oven. When inside, spray them with a bit of water.
After 20-25 minutes, turn the heat down to 175 C/350 F and spray them once again.
Bake for another 20-25 minutes, or until the crust has a nice colour, and when gently tapped on the bottom, the loaves sound dull and kind of hollow.
Let cool off for few minutes before cutting them.
By the way, if you live in a cold or drafty building, or if your yeast is a bit on the old side, you can always use my fool-proof dough-rising trick:

Yup, that's me, my dough and my laptop all in perfect harmony. Works quite well, actually.
For all of your bread needs, check out YeastSpotting over at Wild Yeast!

6 comments:
Laptop as dough proofer -- I'll have to remember that one! Beautiful hearty loaf that looks like it would be just perfect with soup.
Looks delicious and I love your technique for getting the bread to rise!
A great way of combining baking and nerding! Try it!
Brilliant way to proof your dough! The loaves look lovely. Isn't baking bread so rewarding?
Aimée: It really is! Homemade bread always tastes good, no matter how bad it turned out! Plus, kneading the dough is quite the therapy session. :)
At the risk of sounding like an echo: I love that proofing!!
Pretty bread too!
Post a Comment