I love cardamom. Always have, always will. The smell of it haunts my childhood memories, as do the so-not-plain cardamom buns my mother always made. My mother has taught me a lot of things, but the one thing I will always remember is this: Always use more cardamom than stated in any bun recipe!
Weird thing to remember, right? Well, what can I say--mothers are always right!

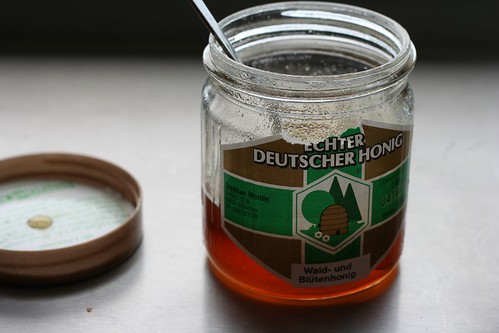
The state of supermarkets here in Munich is really quite horrible, and one item you will never be able to find in one is cardamom seeds. Maybe they're not easily available where you live either, but every little corner shop in Sweden sells them. That said, horrible supermarkets does actually come with a few advantages. For example, food- and farmer's markets can be found all over town, and since the supermarkets are so empty, there are quite a few little shops that specialise on, say, spices. We found a great little shop selling only spices quite close to the city centre, and since we wanted to make cinnamon buns, we soon paid them a visit. After having been interviewed for the local TV station doing short interviews at the shop (What are you looking for? Oh, cardamom, what is it for? Oh, cinnamon buns, is that a typical Swedish Easter dessert? No? Okay, bye then.) we found our precious cardamom, and the world made sense again.
Swedish Buns recipe as old as the hills (this particular one comes from Sju sorters kakor). Yields: depends on how big you make them.
Dough
150 g butter
500 ml milk, preferably full-fat and at room temperature
50 g fresh yeast
1/2 tsp salt
150 ml sugar
1 egg
2-3 tsp cardamom seeds, finely ground
1000 g wheat flour
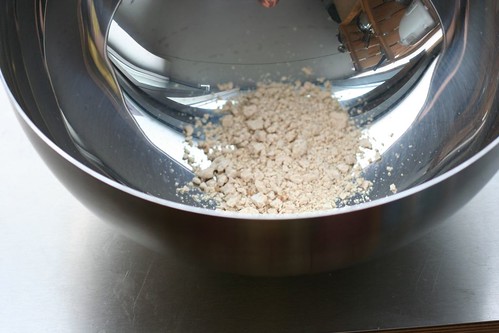
Crumble yeast into a large bowl.
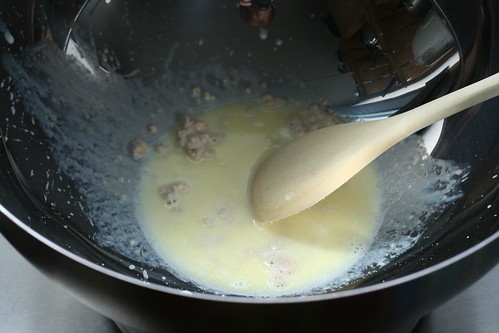
Melt the butter in a small saucepan. Add the milk and stir together. When it has reached 37 C, or body temperature, add a small amount to the yeast and stir until yeast has dissolved. Add the rest of the liquid.
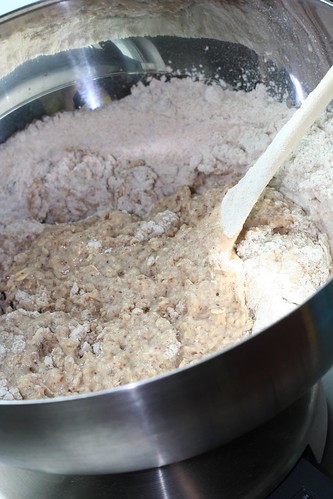
Add the salt, sugar, cardamom, egg and about 800 g of the flour and start kneading the dough, either by hand or machine with dough hooks. Add more flour, little at a time, and knead until the dough is smooth, shiny and does no longer stick to the sides of the bowl. Be careful not to add too much flour--you don't want the dough to be dry, but you also don't want it to be sticky. (I usually knead it mostly using my hands instead of a wooden spoon, since it's easier to tell when to stop adding flour.)
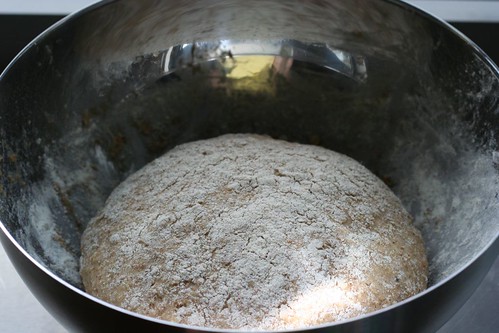
Dust with a little bit of flour, cover with a clean kitchen towel and let rise in a warmish environment for about 40 minutes, or until doubled in size.
In the meantime, make the fillings.
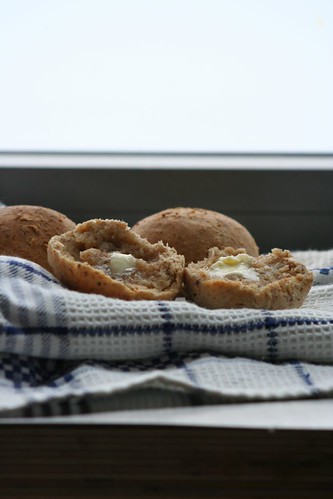
Cardamom and Almond paste
2 tsp cardamom seeds, finely ground
125 g almond paste
50 g butter, at room temperature
Grate the almond paste and mix together with butter and cardamom until smooth and spreadable.
Cinnamon
100 g butter, at room temperature
100 ml sugar
2 tsp ground cinnamon
Mix everything together until spreadable.
Divide the dough into two parts.
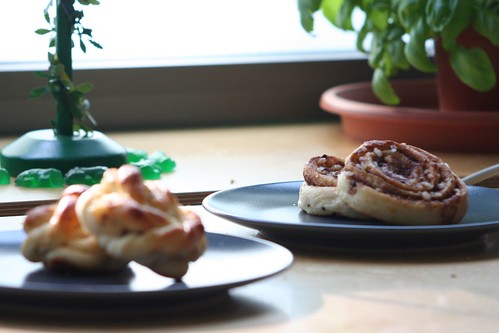
For the cinnamon buns, roll out a rectangle about 30 cm x 40 cm and spread the filling evenly. Roll it together, from bottom to top (i.e. at one of the longer sides), cut into equally large pieces and place on a baking sheet.
For the cardamom/almond buns, roll out the dough until it is rather long, and about 20 cm wide. Spread out the filling evenly. Instead of rolling, fold in in half along the long side and cut out strips, about 3-4 cm wide. Make a 3/4 cut from bottom to top, making sure it does not divide entirely. They should sort of look like a pair of legs, ending with a bit of stomach. Spin out each "leg" in opposite directions, and then tie them into a knot. Place on a baking sheet.
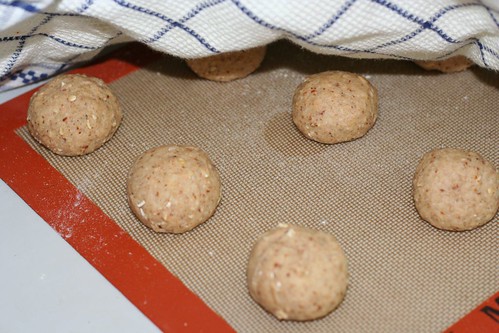
Cover with a kitchen towel and let rise for about 30 minutes, or until doubled in size.
Pre-heat the oven to 225 - 250 C / 440 - 480 F.
Whisk together an egg with about a teaspoon of water and a pinch of salt, and lightly brush the buns. Top them off with pearl sugar (only for the cinnamon buns) and perhaps some chopped almonds.
Bake in the middle of the oven for about 10 minutes, or until lightly golden.

If you don't plan on eating the whole batch in one go, freeze them as soon as they've cooled off.
For more bread, sweet and savory, check out YeastSpotting over at Wild Yeast.